


using the wall mount
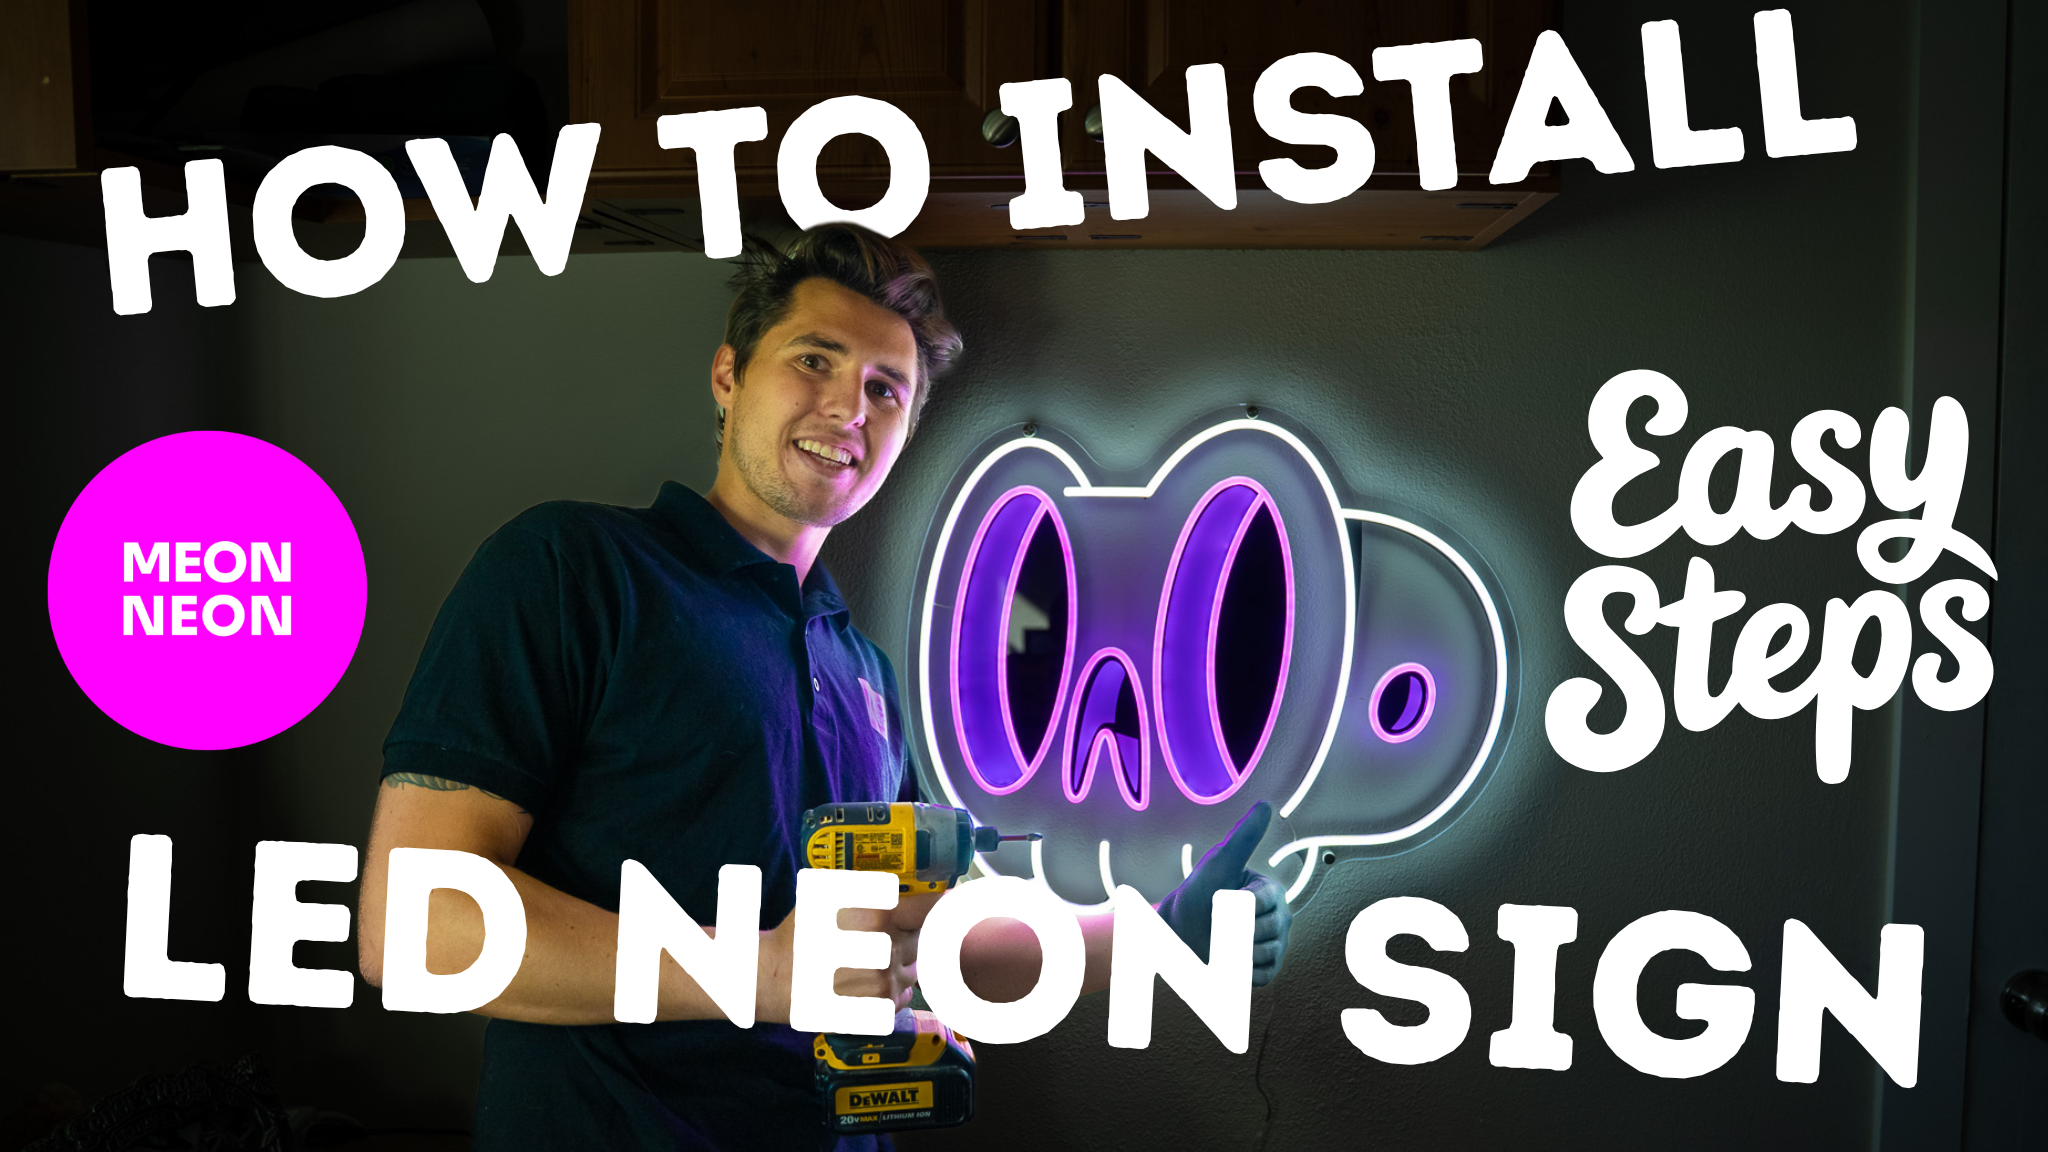
We're visual learners too, here's a video on exactly how to install your new sign using the included wall mount standoffs.
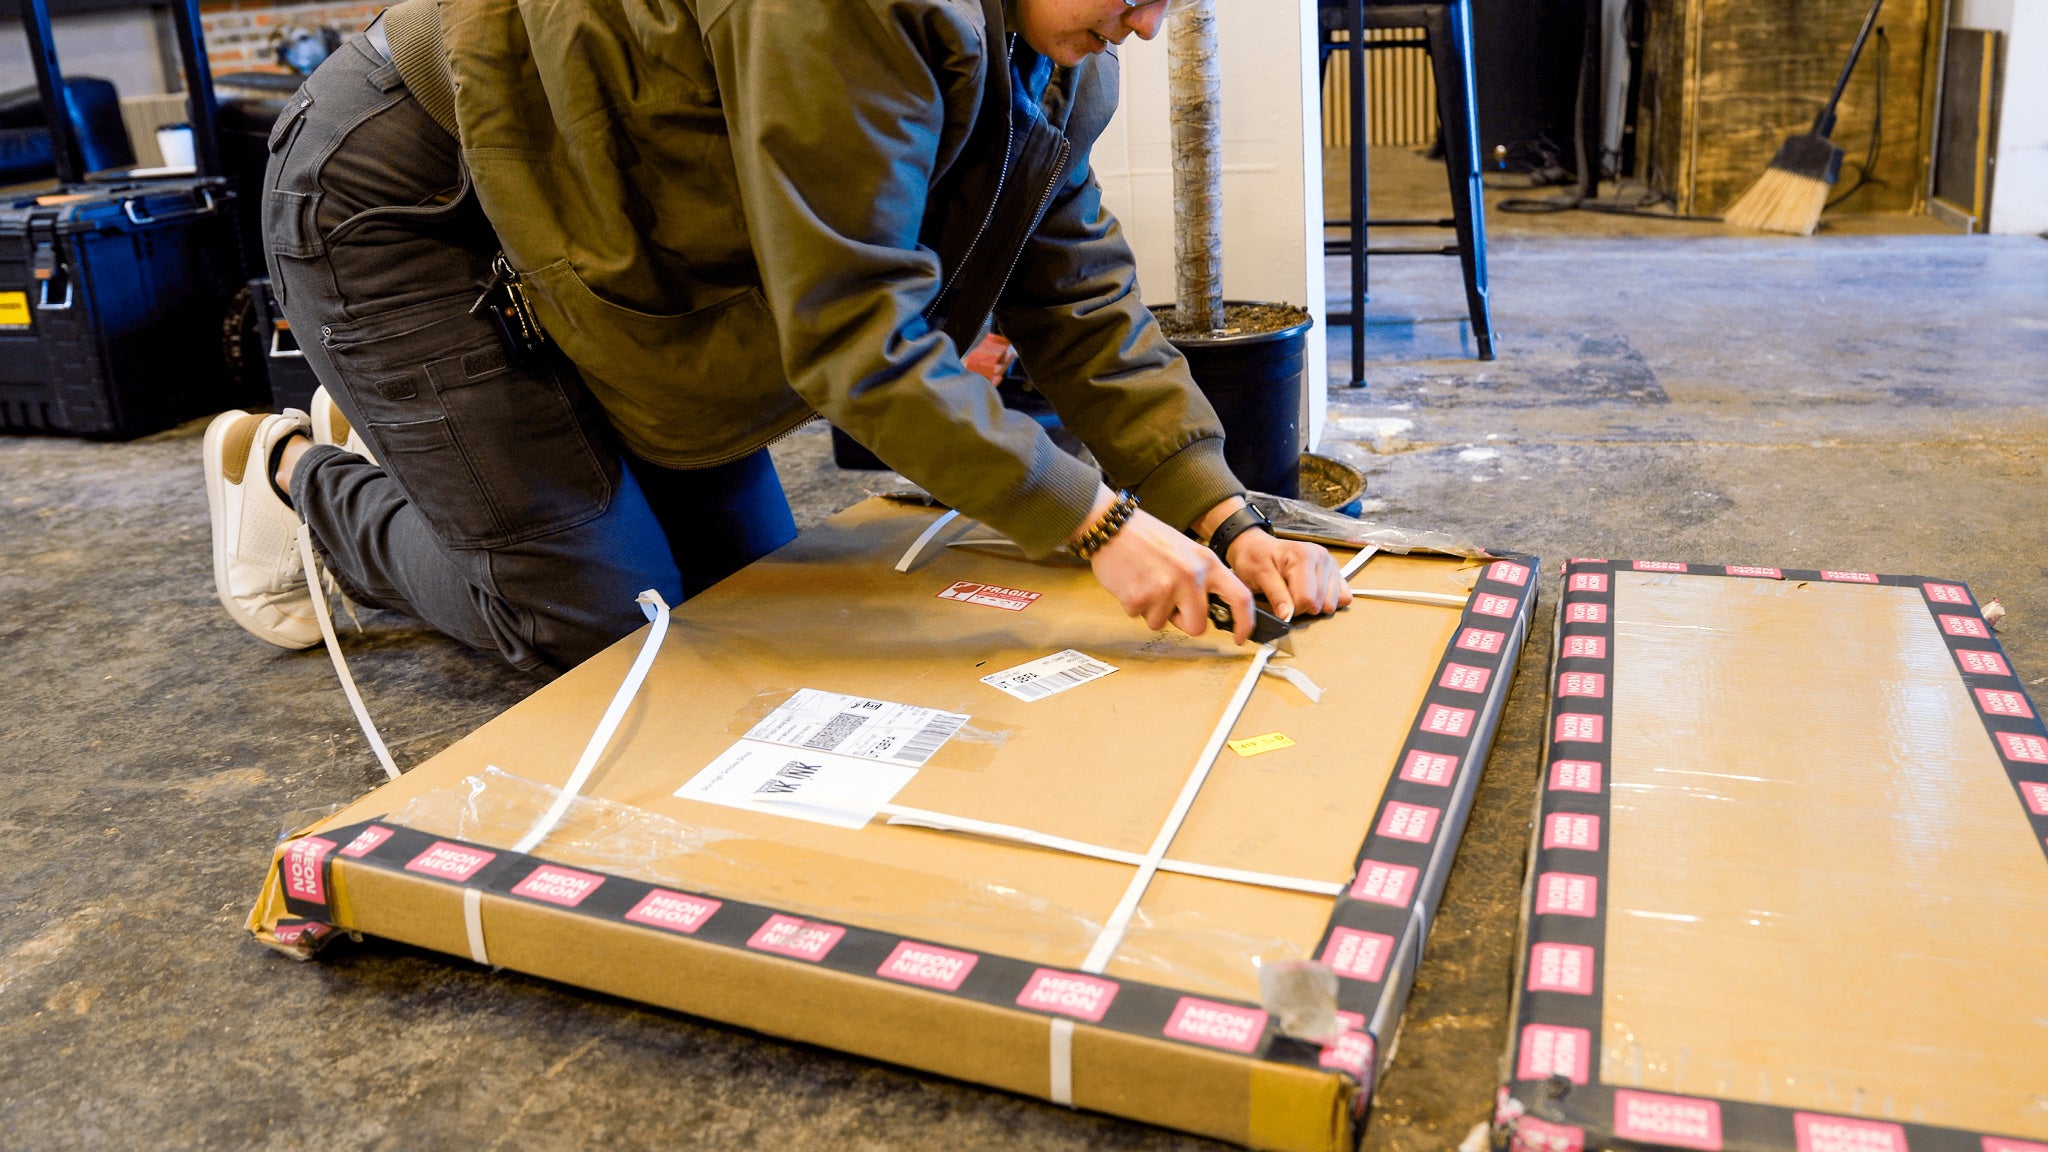
Unpack Carefully
- Open the packaging with care to avoid damaging the sign or its components.
- Check for all included items such as mounting hardware, power adapter, and remote (if applicable).
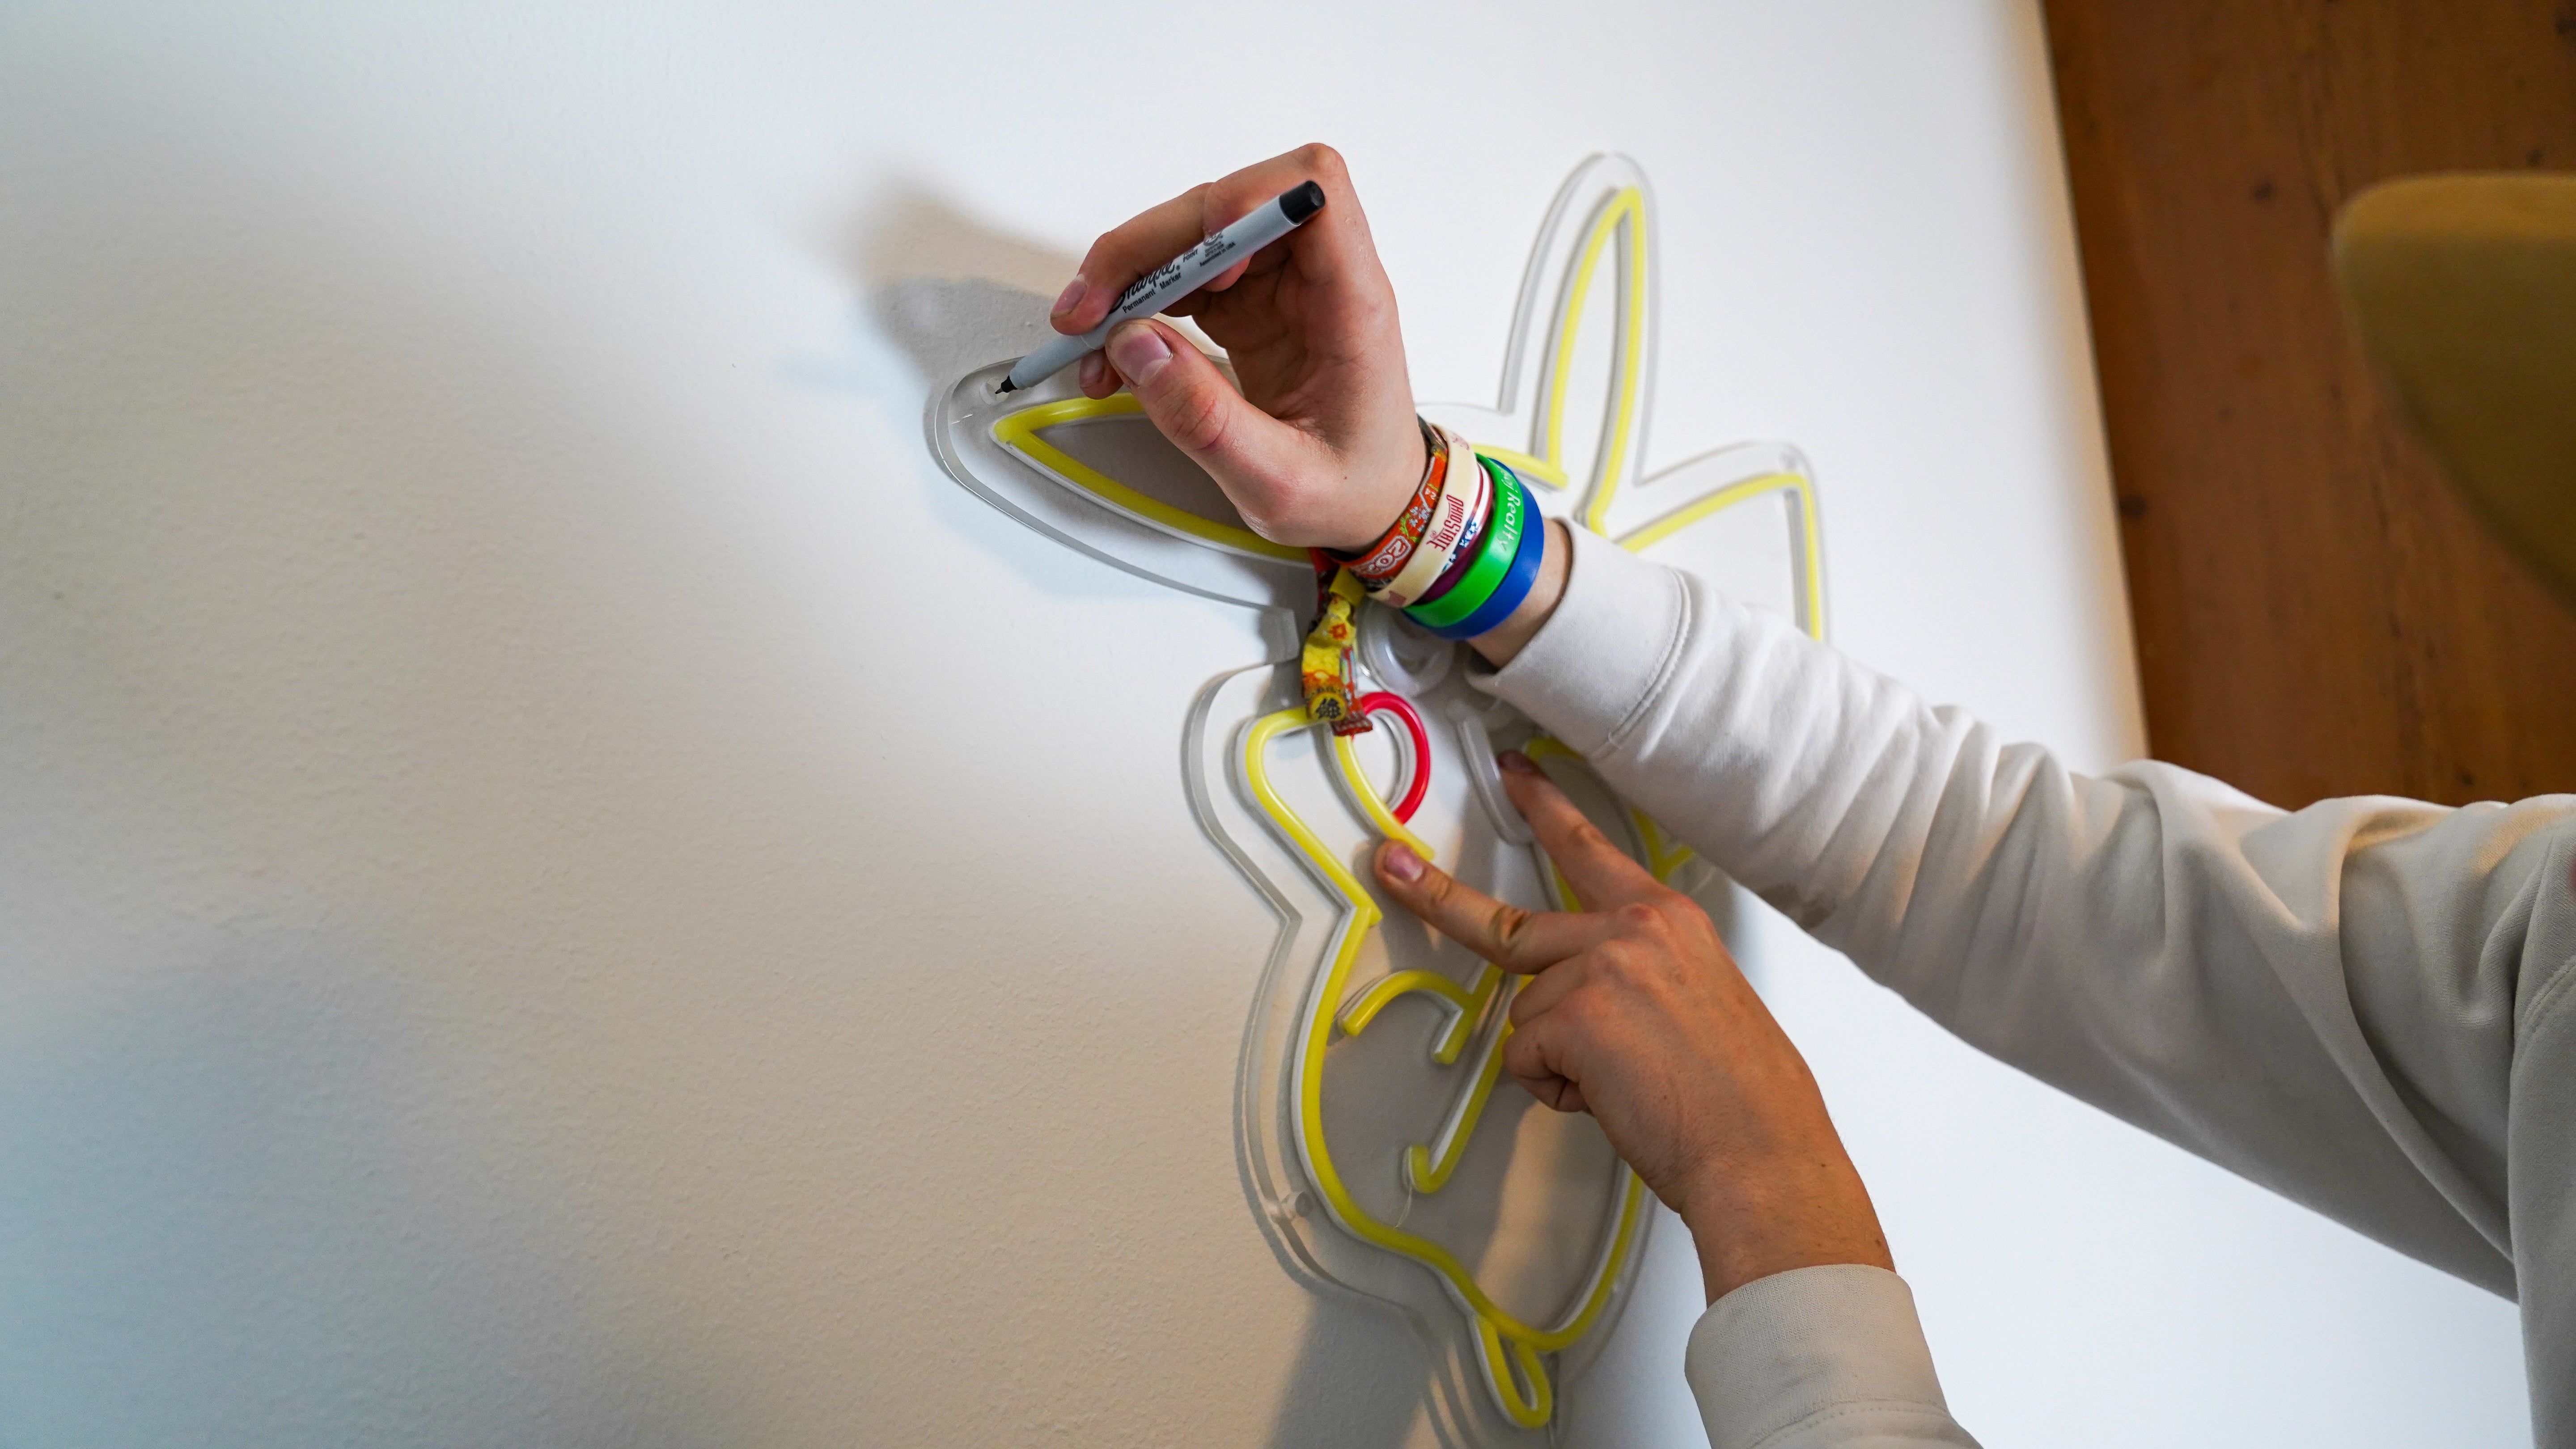
Choose the Mounting Location & Mark
- Select a flat surface for installation.
- Ensure the location is near a power source for easy connection.
- Use marker to mark mounting holes

Drill, Anchor, & Install
- Drill holes on your marked points
- Place anchors inside of holes
- Install each mount onto the wall
- Lift your sign up to the mounts and screw in the top plates
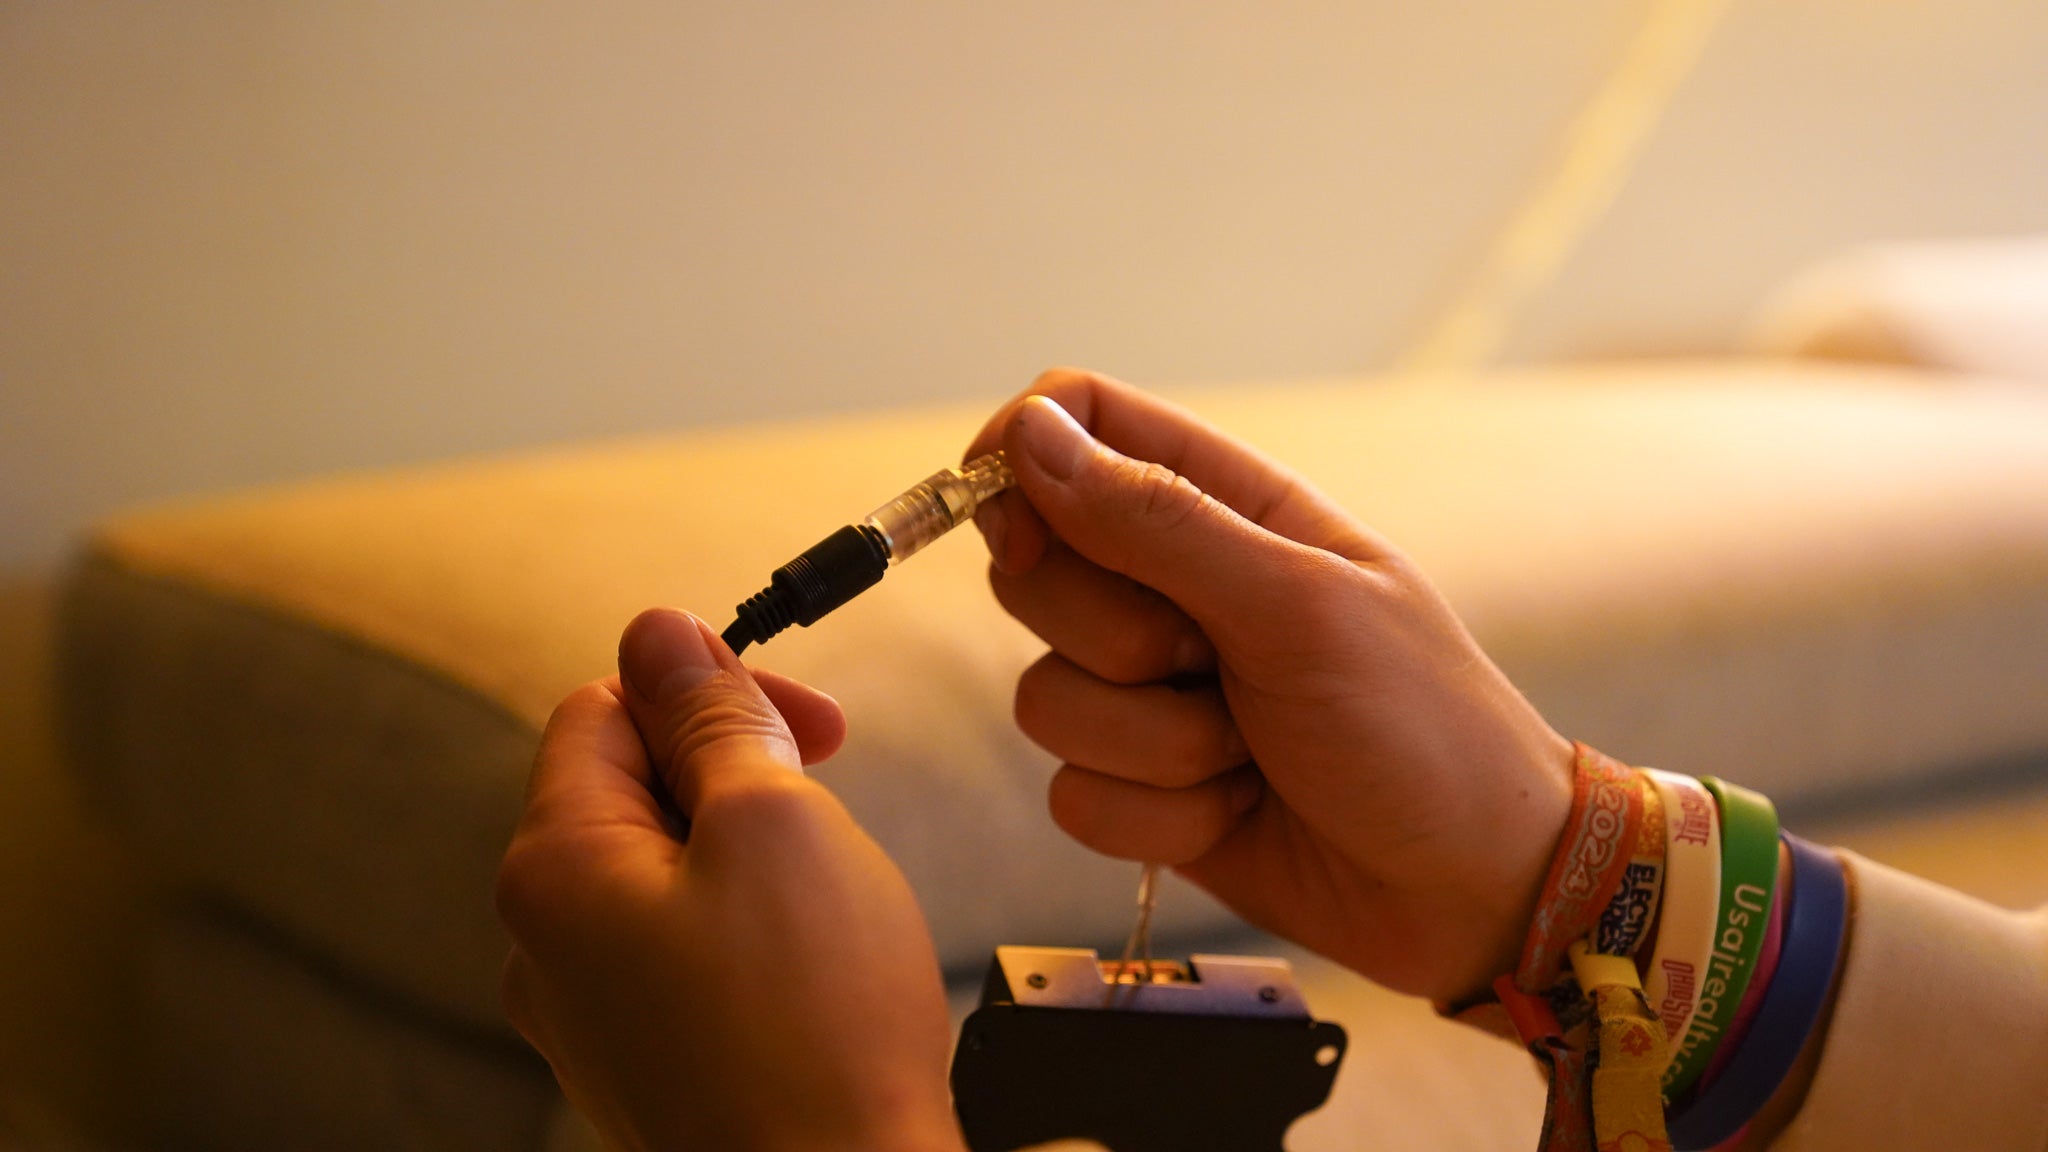
Connect the Power Supply
- Plug the power adapter into the neon sign.
- Connect the adapter to the power outlet.

Final Adjustments
- Make sure all wires are neatly tucked and secured. Use zip-ties or cord wraps to organize.
- Step back and ensure the sign is perfectly positioned and glowing brightly.